Showing posts with label orange lingerie. Show all posts

Making Friends - Boylston Bra by Orange Lingerie

December 28, 2018

If you've been following me for a while you would know that before I seriously started sewing my own clothes, I started bra making.  Talk about doing things backwards.

My love for Orange Lingerie's Boylston Bra is well known. It is my favourite bra pattern, it just fits so well and I adore the shape, and the straps.  I'm a sucker for a good fabric strap.

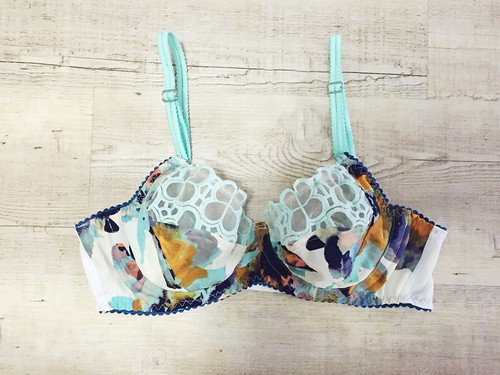
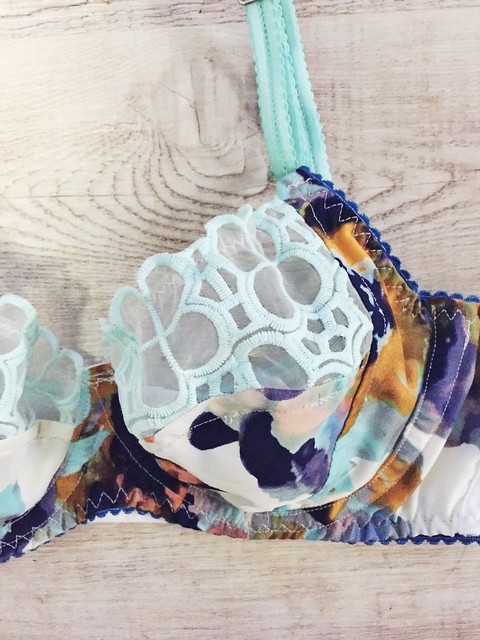
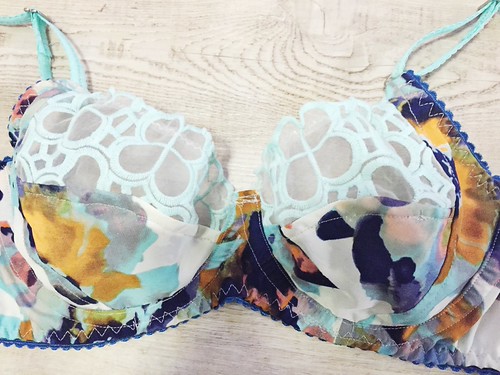
Anyway, it's been quite a while since I've made any bras and I was well overdue to get some new ones in my wardrobe. I had some floral scuba fabric left over from some leggings and decided that it would be perfect for a new bra.  I'm pleased to day I wasn't wrong.


Floral Boylston Bra

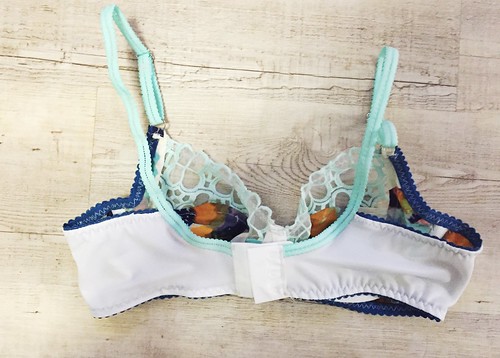
I initially intended to make this bra without a foam lining and using 50 denier lining. For some reason I found this pretty impossible and my fabric kept stretching which resulted in puckering and all kinds of bad things, I became very, very good friends with my seam ripper before deciding in the end to just cut new pieces and use cut and sew foam for the lining.
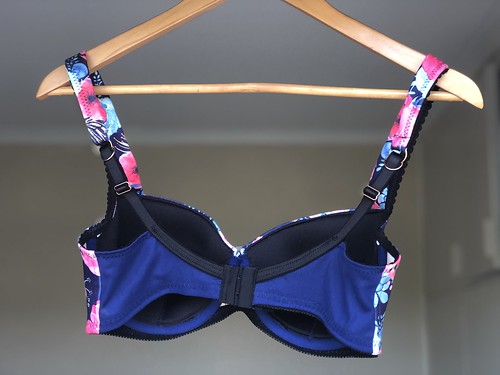
Floral Boylston Bra 

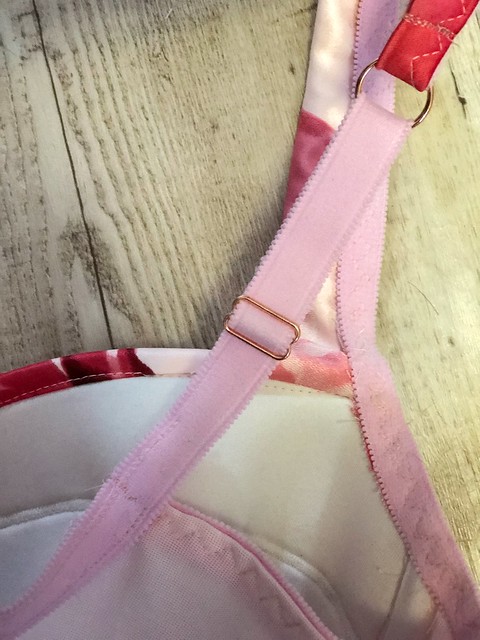
I used navy powermesh for the back.  Powermesh is such an important material in the bra making process because it has the recover and gives the support which is required in order to have a well fitting bra. I used back cut and sew foam and elastics as it was what I had on hand.  I contemplated ordering navy but I'm trying hard to sew through my stash this year and I actually really like the way the black works with it.  i also used rose gold rings and sliders and added a double ring detail which may prove annoying.  Time will tell I guess.

Floral Boylston Bra 

I'm a sucker for a good floral and I'm so glad I decided to use up the scraps I had to make this bra. That is the beauty of bra making, that even scraps which wouldn't be considered useable in other cases can often come together to from a fantastic bra.
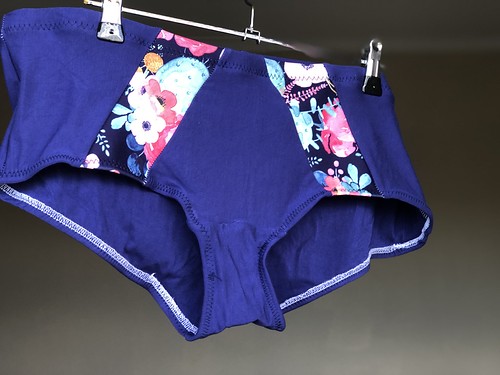
Floral Boylston Bra

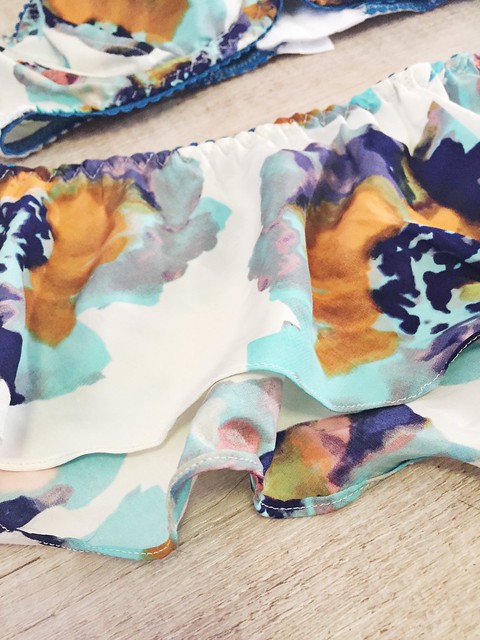
Of course what is the point of making a new bra if you don't turn it into a matching set? I'm a massive fan of the Tuesday Boyshort from Emerald Erin.  My most regularly worn underwear uses this pattern.  I can't recommend it enough.  I hacked the pattern sightly to include some of the floral fabric in it.  It just ties it together a little bit in my opinion.  I also overlocked the elastics on and then enclosed them.  I should have changed my overlocker thread but I honestly just didn't feel like it.  I'm a bit of a rebel like that.

I'm sure this set will get tonnes of wear.  There's nothing quite like a new matching set of handmade underwear to make you smile every time you put it on.
Boylston Bra - Getting Back in the Saddle

November 7, 2017

So I started the year with great plans to blog more, obviously life happened and if you follow me on instagram you will know that this year hasn't been the easiest for me. There's been some change - I left my first "real" job that I've known for the last four years and started a new adventure.  I've also gone back to uni and just got my first semesters marks back and had to remind myself that D is actually for distinction and means I really didn't fail!

However after a rough start I finally feel back in my groove, its only taken me until November!

I also feel like I've been holding back from blogging for a number of reasons, things like my photos not being good enough, or my makes not being up to scratch, however I've decided just to get on with it.  Not having a live in photographer makes things harder but a photo is better than no photo.  I was listening to an episode of the Love to Sew Podcast - which I highly recommend if you haven't checked out - and I think it sunk in.  Done is better than perfect.

Anyway onto the sewing!

A few months ago I noticed a group on facebook for my town for all things sewing, it's such a fantastic community!  We get together for bi-monthly sewing sessions and coffee dates.  It is so refreshing to get together with friends to talk patterns and stroke fabric.  It's really been a lovely addition to my life.

At our last sewing group I made myself a(nother) Boylston Bra by Orange Lingerie, its really become my TNT bra pattern (Which fits in quite well with the Sewcialists TNT month).  I'm meant to be giving a little bra making class at the next get together.

My previous Boylstons include - my Mermaid Bikini, my vintage floral bra, this little red one named after none other than Joan from Mad Men.

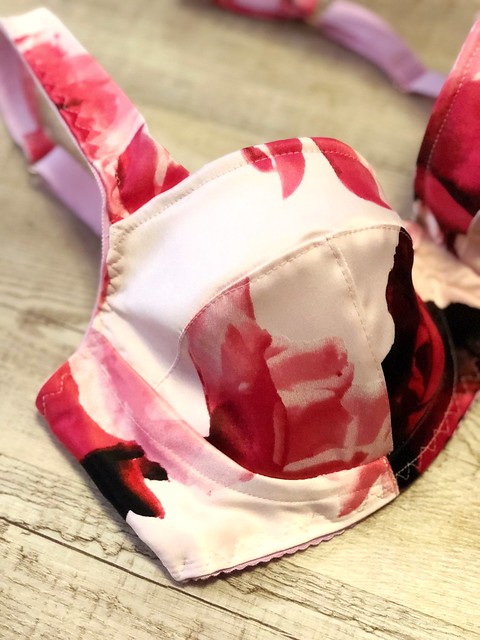
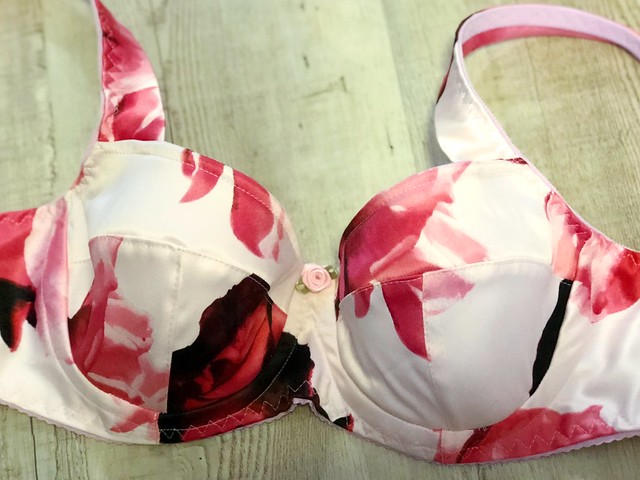
A few years ago Maddy of Miss Maddy Sews made this amazing pink floral Boylston and when I found the same fabric in Lincraft (I've also just realised apparently this fabric was in my stash for two years, oh well!) I knew I had to make on too.  Thankfully it turned out just as well as I hoped.

Floral Boylston

I lined the cups with cut and sew foam, I'd really recommend this is you're making a bra using satin (which overall I don't really recommend!).  The cut and sew foam gives the cups and nice structure and shape.


Floral Boylston

There ended up being some half decent unintentional pattern matching, which I'm pretty pleased with to be honest!  As always I added a little rose to the centre to cover up some not so pretty stitching. 

Floral Boylston

I used adorable rose gold rings and sliders for Sew Squirrel, I dyed the elastics, strapping and powernet pink which I think was the right choice!  If you've never tried dying your own fabric or notions I would highly recommend it, it's so much fun!

I've got matching underwear cut and elastic dyed, so hopefully they'll aldo be finished soon!

Anyway, it's good to be back!  I'm not making any promises about how frequently I'll be blogging but I hope its not 11 months between posts again!


(Black) Betty Bra

February 27, 2016

So if I thought it was appropriate to swear on my blog I would.  That is how much I love this bra.  It's safe to say this is a new favourite.

Betty Bra

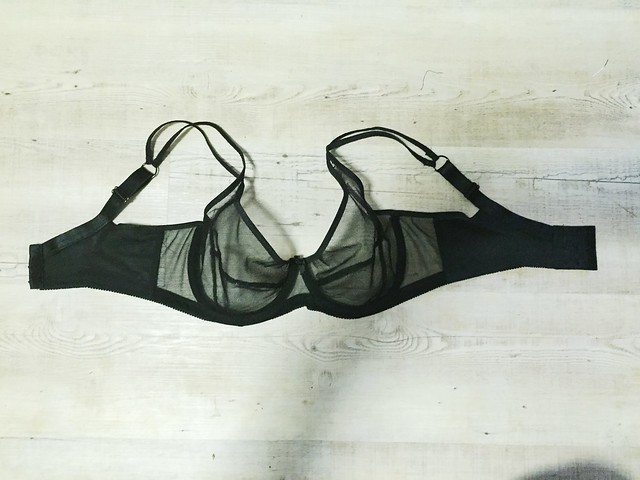
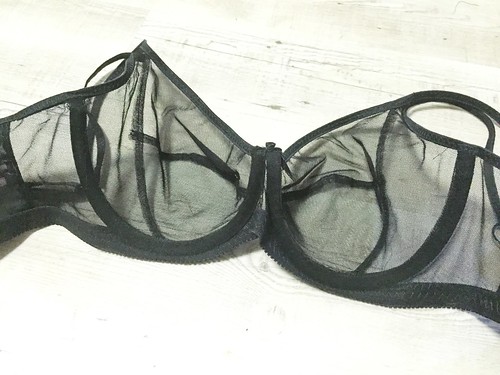
I mentioned at the end of my last post that I was working on a bra using one of Erin's kits from her store, The Emerald Studio.  I purchased a black bra tulle kit and honestly can't rave about it enough.  There is plenty of fabric in the kit, buy plenty I mean I'll be able to make another bra or matching panties without worrying about running out of fabric.  To be honest I'm leaning towards the matching panties but I'm not sure what pattern just yet, more about that later.

Betty Bra

For this bra I revisited the Marlborough pattern by Orange Lingerie.  This time I made a 36C (the same size as my Boylstons) and the fit is much better than my previous attempts with this pattern. I modified the curve of the lower up slightly to remove some of the pointyness I had experienced previously and as a result I am much happier with the shape of this cup.  It's resulted in a more rounded, more modern style which I prefer.

Betty Bra

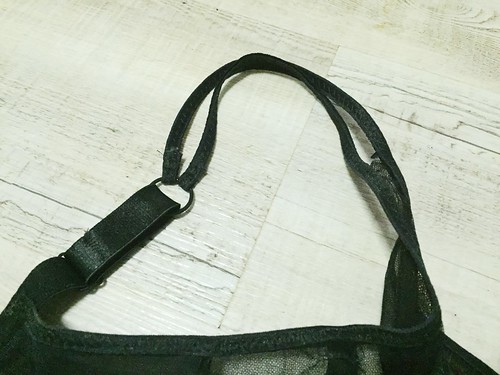
I was heavily inspired by Erin's Black Beauty Bra when choosing what to make.  I fell in love the the double straps and tried to recreate them here.  I also should have purchased this kit was a small findings kit, however I didn't know what I was making at the time.  Thankfully I already had a stash of FOE elastic on hand which was easy to substitute.  

Betty Bra


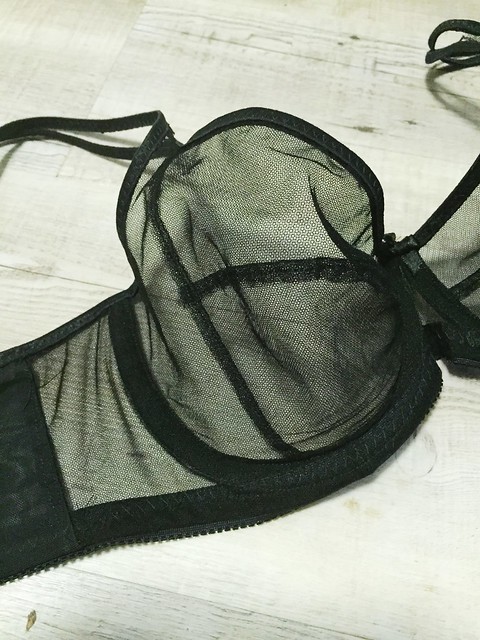
This was my first time sewing with Bra Tulle and I think I'm converted.  I was prepared for my machine to try and it it and for it to be a nightmare to sew however it was the total opposite.  It was a dream to sew, my machine loved it, I loved it.  It only postage wasn't such a killer!  I used a double layer with opposing stretch and felt incredibly well supported when I wore it.  Of course my cup size isn't large but I can't recommend it highly enough for my size.  This bra did feel quite tight when I wore it yesterday however it did loosen throughout the day so with a few more wears it should be prefect.

Betty Bra

One other thing I love about the bra tulle is the detail that appears with the double layer.  It might be my favourite detail in this bra.  I seriously love it.

As for a matching set I'm tossing up between a Watson, either completely from Bra Tulle or a bra tulle front and powernet back or a pattern with a ruched back like Ohhh Lulu's Lola.  I'm tossing up if I can modify something or just need to buy a new pattern, I'm leaning towards buying a new pattern, I think I do need to branch out from making Watsons all. the. time.

Anyway, if you're thinking about buying a bra tulle, or any other kit from Erin do it.  You will not regret it.

What new fabrics and products have you fallen in love with?


The Joan Bra

January 15, 2016

I was super excited when Erin opened her store.  I've fallen in love with so many of her bras it just isn't funny.  Of course postage to Australia from Canada is rather prohibitive.  The wonderful Karin of Mrs Weaver's Finest Unmentionables just happened to be visiting and offered to bring some wonderful goodies over for me and save me a fortune in postage.  We had a wonderful lunch and it was so lovely to catch up with an online friend!

Today I'm pleased to share the first bra I made using the small red bra kit.  I purchases a few kits so you'll see some others coming up when I get around to making them :)

Joan Bra

So I'm just a little in love with this bra.  I'm calling it my Joan Bra as I may have been watching too much Mad Men over the past few weeks and this just reminds me of Joan.

Joan Bra

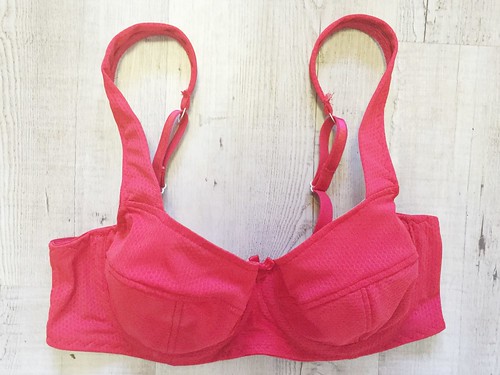
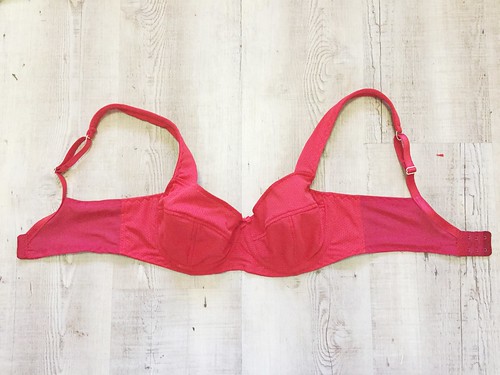
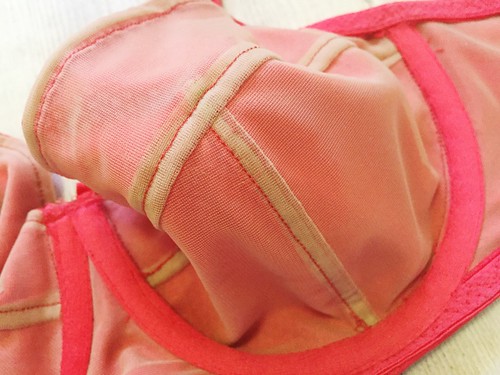
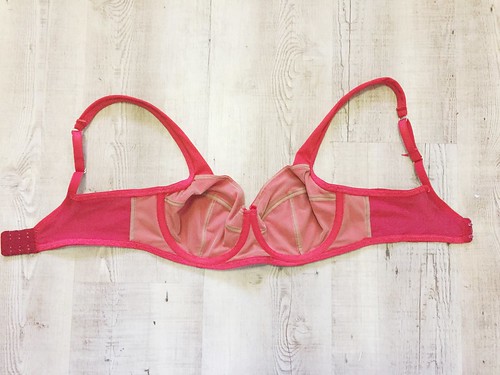
I used Orange Lingerie's Boylston Bra pattern for this bra.  For a number of reasons, I really love the balconette style, I wanted to try it without foam and I've nearly nailed the fit.  I'm pleased to report I think I love it more without foam than with.  It still gives a lovely shape under tshirts.


Joan Bra

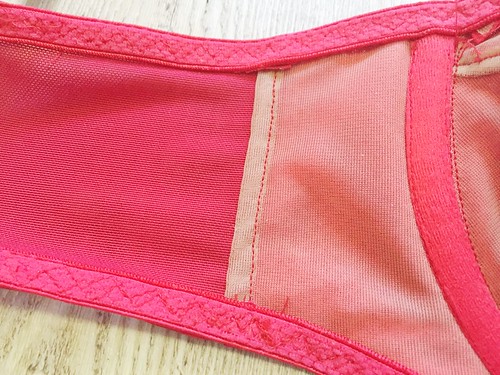
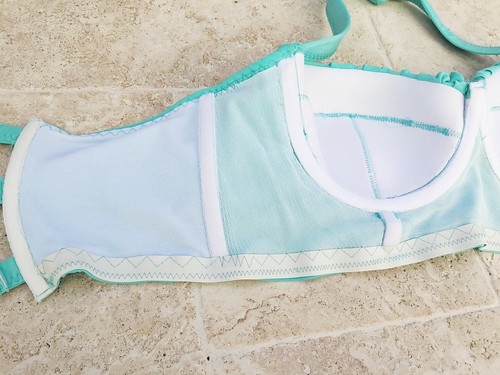
I fully lined the cups, bridge and frame with the stretch mesh included in the kit.  It probably wasn't really required but I'm pleased with the results overall.  It also allowed me to fully enclose all the seams which I think gives a really professional finish to the bra.

Joan Bra

As far as general fit goes, now that I nearly have the cup fit sorted there aren't many fit issues there, especially none that I am worried about at this point in time given this was the first time I had worked with this fabric.  I did find that the band seemed a little tight however that seems to have eased now that I've worn it a few times.

Joan Bra

I also used Erin's Bliss Wires for this bra.  I quite like them but I'm not convinced the fit is perfect for me, they are certainly wearable but not perfect.  Saying that I do love the way the sit flat at the bridge.  I'm sure I'll use them again.


Joan Bra

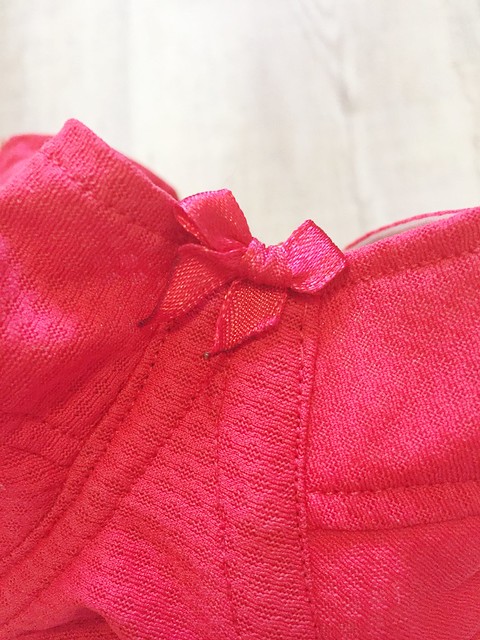
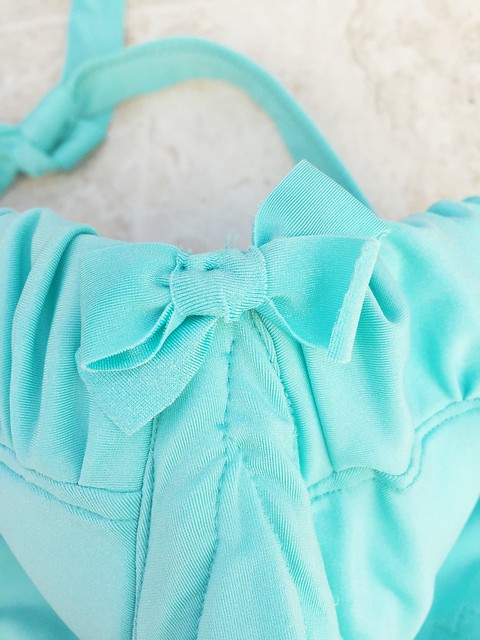
The little details like the topstitching and the bows are what just make bra making so much fun in my books.  Something so practical and so pretty all at once and the best bit is its all handmade.  Seriously nothing can be better than that.

Overall I'm incredibly happy with it and can't wait to use the other kits I bought from Erin.  I'm trying to work out how to make this one into a matching set, I'm sure I'll come up with something but if you have any suggestions please let me know :)

Just call me Ariel

December 31, 2015

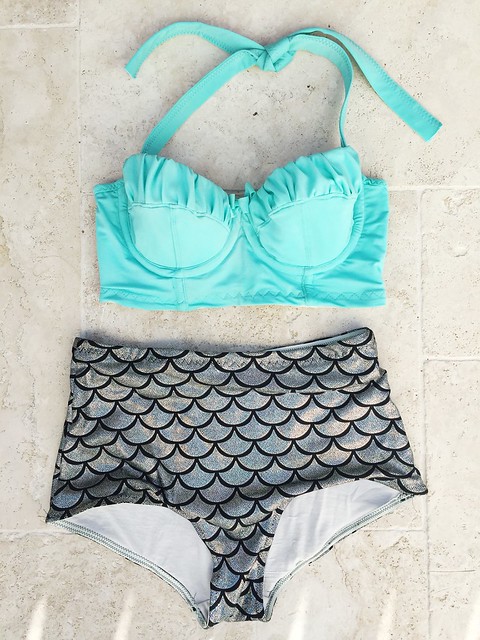
I'm so freaking proud of this make. It's far from perfect but it still doesn't take away from the fact I made my own bikini (and that I wore a bikini!) and finally got the fit of the Boylston nailed!

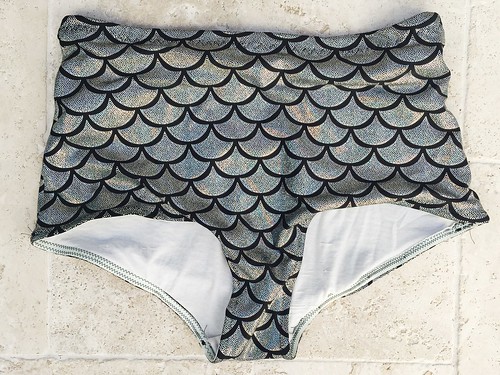
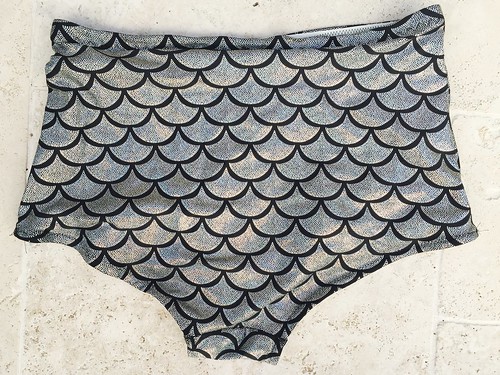
So, I'd like to introduce you to me Mermaid Bikini, I think the reason behind the name is fairly obvious :).

Mermaid Bikini

I'm so in love with it. The top is a modified Boylston Bra by Orange Lingerie and the bottoms are Ava High Waisted Panties by Ohhh Lulu. This is only my second Boylston but I'm happy to report I think I've iron out most of the cup fit issues on this one which will make subsequent bras even better! 

Mermaid Bikini

Most of the fabric, elastics and notions are from Spotlight. The Lycra for the top was a remnant I picked up for $2/m (seriously I couldn't leave it behind for that price!) and the Lycra for the bottoms I'd had my eye on for a while before I took the plunge. I'd fallen in love with the idea of a longline and high waisted bikini since seeing this one by Emerald Erin. Having worn it now I love the extra coverage it gives while still being a bikini.

Mermaid Bikini

The major alterations I made to this Boylston (as compared to my last) were to alter the upper cup peice to remove some fabric, I had experienced some gaping in the top cup while the bottom of the cup fitted. Thankfully I think I've corrected this issue now as it would have been more apparent while wearing a bikini and thankfully it wasn't.

Mermaid Bikini

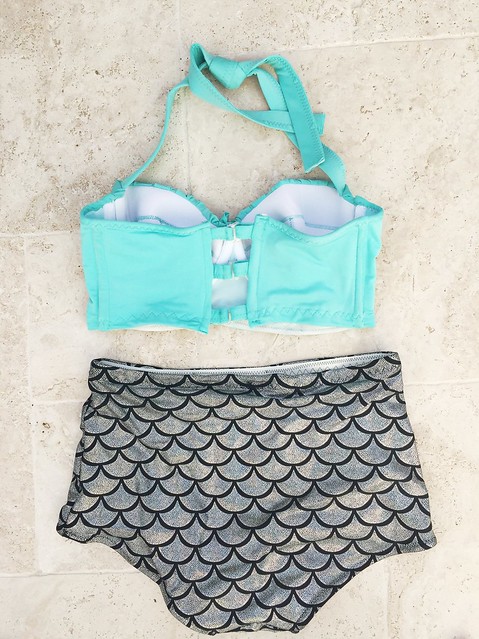
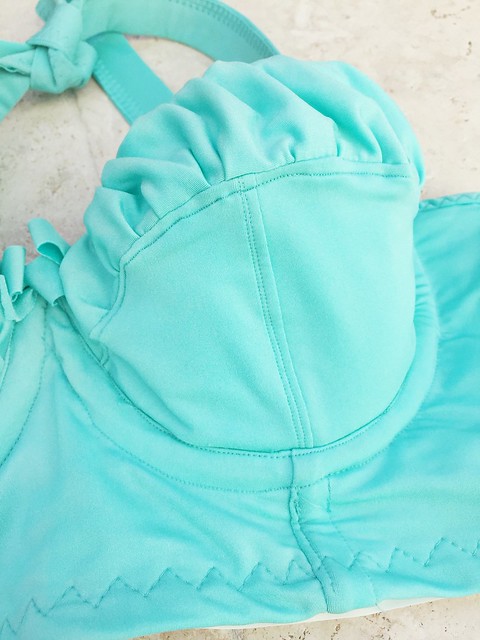
The more obvious alterations include making that pattern a longline and ruching the upper cup. These were both relatively simple alterations but I think they make the suit. I read this post and this post by Maddy of Miss Maddy Sews who had altered her Boylston before and they were quite helpful. I also changed the straps to a halter style though this was incredibly straight forward.

Mermaid Bikini

The inside of the bikini top is lined with one way stretch mesh and powernet as you would line a normal bra. The whole process was quite similar, foam cups, underwire, top stitching and so on, the only major difference being the Lycra. Which my machine does not like.

Mermaid Bikini

I had major drama with my machine, skipped stitches (as above), birds nests the works! I did everything but change the needle which probably would have solved all my problems. Oh well, live and learn.

Mermaid Bikini

I read Erin's post about her bikini numerous times to try and ensure mine would be as wearable as possible. I followed any hints she gave to the letter, right down to the boning at the back and the three claps. I also used her wonderful tutorial to make the straps and closures.

Mermaid Bikini

Something that was a little different for me was finishing the top edge with fabric rather than elastic. It's not perfect but it does the job and was fairly easy to apply.

Mermaid Bikini

This was the first time I had ever used Ohhh Lulu's Ava pattern, I bought it especially for this project as I didn't wasn't to spend the time altering Betty to  get the seams right. Sometimes it's about working smarter not harder.

Mermaid Bikini

The bottoms are lined with some kind of stretch lining. I'm not really sure it is a swimwear lining but I'm sure it will pass, more of less. The lining also seemed to stretch more the the Lycra so it's a bit frankensteined on the inside. This results in them sitting a bit funny when flat but doesn't effect the wear at all. I used swimwear elastic for the edges and probably should have enclosed it but again, live and learn, there's always the next one!

Anyway, while this may not be my best make of 2015, I think it is the one I'm proudest of. If you had told me a year ago I would have made and worn my own bikini I would have laughed at you, however it just goes to show how much things can change in a year.

I hope you had a wonderful Christmas and have a wonderful start to 2016.

Until next time,

Emma :)

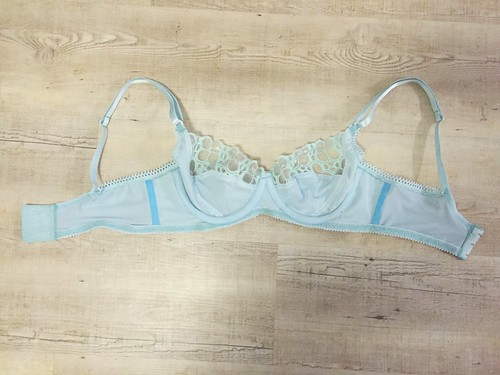
Marvellous Mint Milliskin Marlborough & Watson Bikini

October 16, 2015

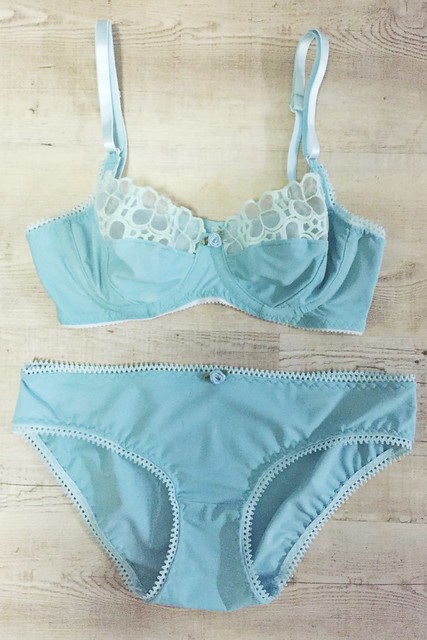
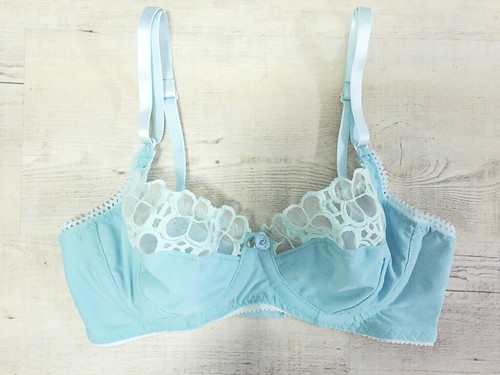
I purchased a couple of Watson Bra kits from Greys Fabrics a month or so back.  I bought one in white and one in pink and only got around to getting into one of them earlier this week.  I started with the white kit, but white is boring.  I've also got quite a collection of Watsons going on so I decided I needed to try another Marlborough.

Anyway, I started by cutting out the pieces of my Marlborough, a 38B this time.  Last time I made a 38A and the fit wasn't right so I tried a different size this time, however more on the fit later.

Mint Milliskin Marlborough & Watson Bikini

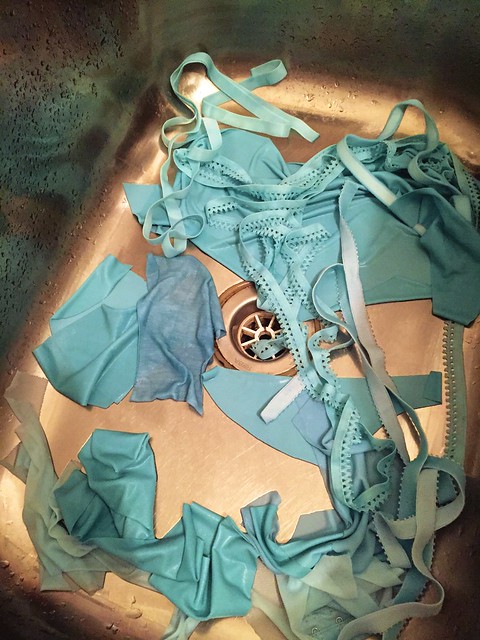
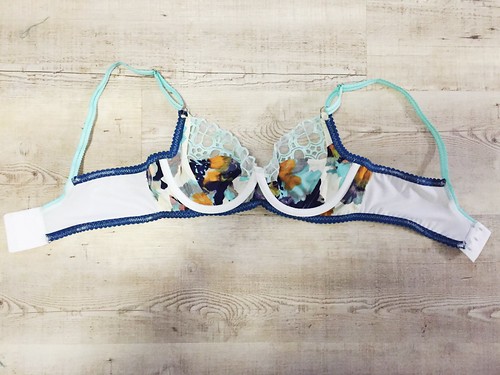
After I'd cut all my pieces I threw them in a dye bath with some Teal Rit Dye.  Head. Over. Heels. with the colour.  It ended up the prefect shade of mint.  The elastics came out a bit more blue, as did the powernet but it all ties in well, especially with the rigid lace!  The only issue is some small parts of the fabric didn't appear to absorb the dye as well as the rest of it.  There are some small imperfections but I had read about this happening so I knew it was a possibility.  Thankfully I'm not too worried about them.

Mint Milliskin Marlborough & Watson Bikini

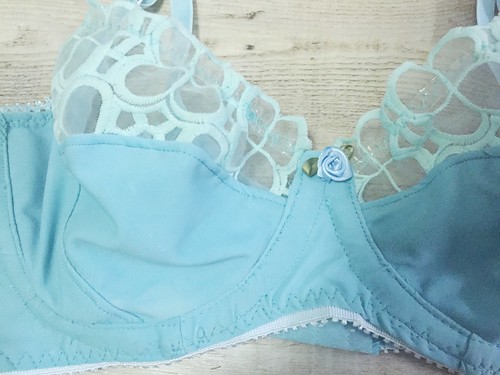
Everything included with the kit appears high quality, I mean I won't really know until they have a bit of wear, but all signs are looking good to start with.  The lace for the upper cup is the same as I used in my first Marlborough.  I'm a bit in love with it.  Thankfully the dyed milliskin ended up a great match!

Mint Milliskin Marlborough & Watson Bikini


As I said before, I cut a 38B this time, the cups on my previous Marlborough just weren't right.  Saying that I'm not sure the cups on this one are that much better.  I don't seem to fill them but I also appear to be spilling out the top. I used the same underwires, but they fit well and appear to be the exact same as my well fitting RTW bras. I'm not sure if I'm going crazy but I have a feeling that the shape of my breast might not be suited to the shape of the Marlborough.  I'm not ready to give up any time soon, but I'm thinking about trying a new pattern next time.


Mint Milliskin Marlborough & Watson Bikini

I'm also going to be honest and say I had a bit of a struggle ensuring that there were no puckers when I attached the underwire casing, I sewed and unpicked and sewed and unpicked and it is still far from perfect.  I'm trying to believe that finished is better than perfect, at least in this case! Again I added a little blue rose, best $5 I've spent in a long time!


Mint Milliskin Marlborough & Watson Bikini

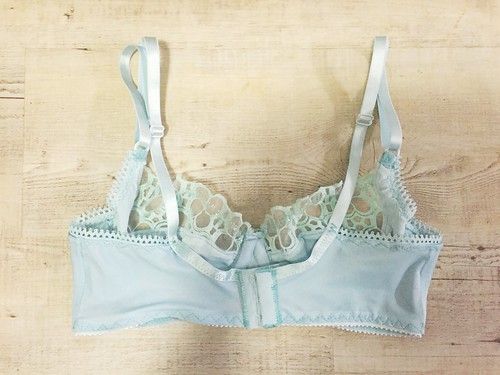
The back is powernet (also dyed, you can notice the difference in the colour and the way the fabric has reacted).  I used the three hook closure from the kit.  I do find it a little strange that the pattern requires a three hook closure when my cup size is so small.  It's not an issue, just an observation.

Mint Milliskin Marlborough & Watson Bikini

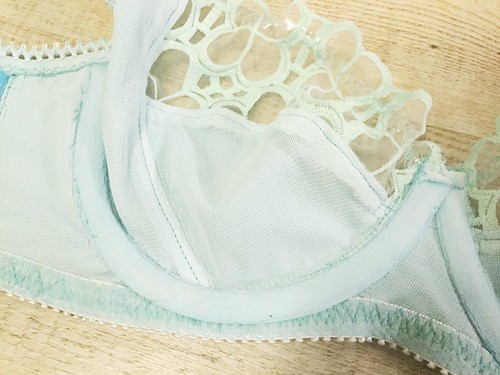
I lined the cup and bridge and all the seams are enclosed. The lining (one way stretch) was also dyed and it came out a similar colour to the elastics and casing.  It's funny how the different fabrics react differently and result in different colours.
Mint Milliskin Marlborough & Watson Bikini

I also covered the side seams with some underwire casing. You will also notice that the casing is a different colour, I didn't dye enough so I had to make do.  Thankfully no one will notice it. Especially as it can't be seen from the outside.

Mint Milliskin Marlborough & Watson Bikini

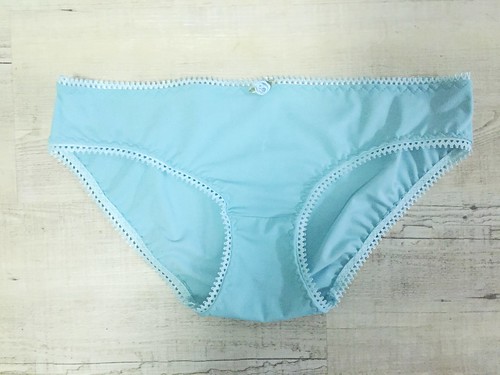
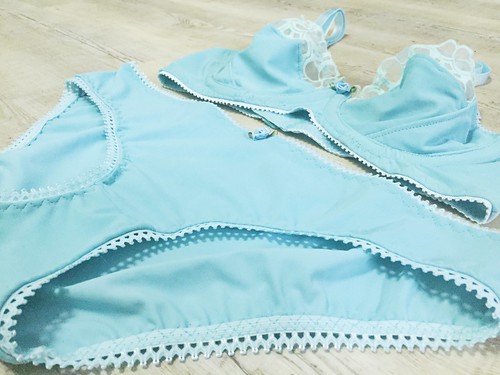
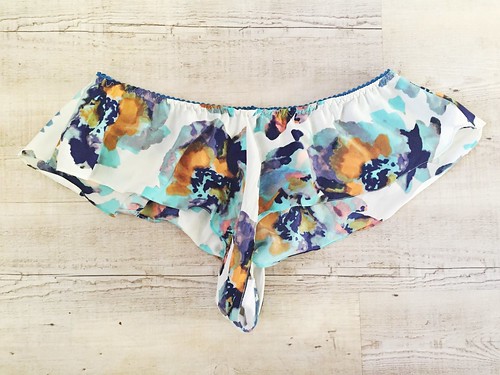
I made a matching Watson Bikini.  As I've said before, this is my new favourite underwear pattern so it was an easy choice.  The elastics are of course from the Greys Fabric kit.  The milliskin makes them lovely to wear and the little rose just adds a bit of a feature to it.

Mint Milliskin Marlborough & Watson Bikini

Anyway overall I'm still thrilled with this set and can't wait to get some use out of it.  I plan on working to perfect the fit, while trying another pattern in the mean time.  I'm leaning towards a Bolyston Bra, but who knows, I'm likely to change my mind.

What have you been sewing this week?

Emma

Marlborough Bra & Alice Knickers

September 18, 2015

I did it.  I made an underwired bra, a Marlborough by Orange Lingerie to be precise.

Marlborough Bra

I'm a little in love with it to be honest.  If I'm being completely truthful this wasn't my first Marlborough.  I made another and totally stuffed it up and the cups ended up being huge and it will never see the light of the blog.  Thankfully I tried again and ended up with much better (also known as wearable!) results!


Marlborough Bra

I cut a 38A, based on my measurements (and also because that is the size I made my Watsons) and am pleased to report it fits okay.  It is far from perfect and I'm tempted to try a B cup next time to see if the fit is any better but we will have to wait and see. I found the instructions fairly comprehensive and easy to follow.   The pattern is not as detailed as the Watson pattern but still fairly good.  I had to read a few bits more than once, but after having completed two now I feel more confident.

Marlborough Bra

 I used a polyester satiny fabric from Spotlight for the lower cup, power bar, bridge and frame, an embroidered lace from Lincraft for the upper cup and powernet from Booby Traps for the band.  The elastics is from Measure Twice, Cut Once and the closure is also from Booby Traps.


Marlborough Bra

Inside it is not the neatest bra on the planet.  I still haven't quite perfected attaching lingerie elastic and have a habit to miss the fabric when zig-zag stitching the elastic.  Thankfully this is all hidden on the inside and no one will see it.  Well until I posted a photo of it online!


Marlborough Bra

I did alter the bridge slightly to make it narrower.  Since I started making my own bras I've noticed that the bridge of my RTW bras don't sit flat.  Admittedly this one doesn't either but it is much closer with the alteration that the initial Marlborough I made.  It also needs a bow or flower to cover up the stitching at the top of the bridge.  I didn't have anything to match in my stash already but thanks to a tip off by Maddy of Miss Maddy Sews I've got these little ribbon rosettes already on the way. I'm hoping the apricot colour will set it off perfectly.

I'm not sure the fit is perfect, but for a first real run though with the pattern I'm pretty happy.

Alice Knickers

Now I didn't really know what to do about matching undies.  I prefer my undies with more stretch than a bias cut generally offers but what is the point of making a bra if you're not going to make matching undies to go with it. Then I remembered the Alice Pattern by Ohhh Lulu.

Alice Knickers

I have made these before and I think this second pair is much nice than the first.

Alice Knickers

I've actually got a dress out of this fabric too.  I wore the whole set the other day and felt very put together.

In other news life is keeping me more than busy.  I'm trying to do keep doing my job at work while taking over and doing part of the job I applied for but I haven't actually been offered the job yet so I'm stressed to the max.  Hopefully things calm down in the coming weeks and I can spend a bit of time sewing.

Til next time,

Emma
DESIGNED BY ECLAIR DESIGNS