Showing posts with label skirt. Show all posts

Popsicle Skirt

February 23, 2016

I walked into my local Spotlight the other day and all their clearance fabric was down to $4/m, considering I just went in for 3m of bias binding and some scuba knit it was very dangerous.  Needless to say I walked out with about 7m of clearance fabric.  I really need to start curbing my fabric buying habits.  I think I need to start limiting it to notions and fabric to finish specific projects, like a contrast, lining, backing or binding fabric.

Popsicle Skirt

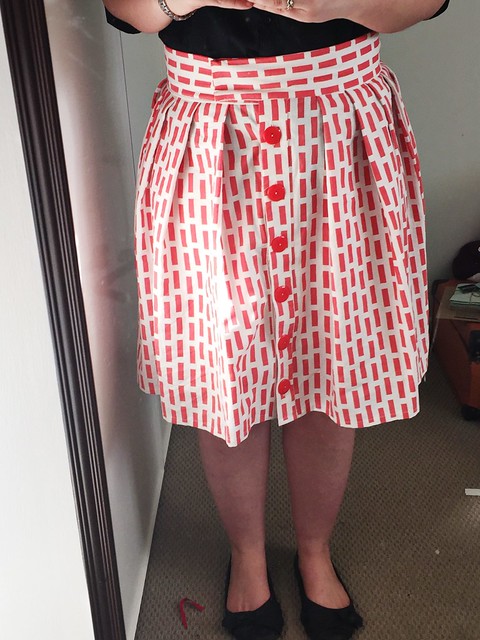
To start with I grabbed 1.5m of a cotton linen blend and got straight to work.  I love it when fabric and inspiration strike at the same time!  I knew I wanted to make a button up pleated skirt so a quick google provided me with this tutorial from Sew DIY.  I didn't really follow the tutorial that much but it was great to ensure I was on the right track.  When I mentioned to mum that I was planning on making a button from skirt her first words were "oh those are really hard, you've got to get all those buttons sitting flat."  Well I'm pleased to say I think I nailed it.  It's time like these I'm very grateful for a machine that has a sensor buttonhole feature.

Popsicle Skirt

I used french seams for the inside seams and cheated and just turned up the selvedge for the hem, I'm all for making sewing easier when you can!  I interfaced the button panels and the waistband with a medium weight interfacing.  It's also got a button and hook and eye closure on the waistband, while a zip would have been cheaper than the buttons (Seriously Spotlight $3.50 for 3 buttons?!?!?!), I love the more relaxed look that the buttons give.

Popsicle Skirt

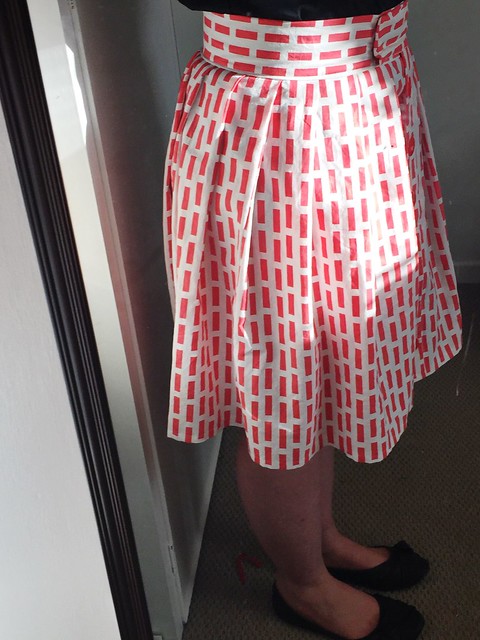
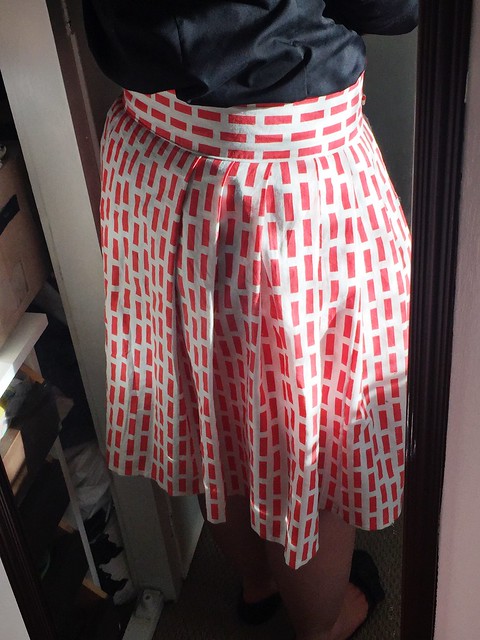
My very technical way of ensuring my pleats were even was to measure them with a pin.  This resulted in there being no pleats for about 4 inches at the back, I do really think I prefer it this way, less volume in certain areas is always a good thing. 

Also Miss Maddy would be proud to know I wore this skirt to work today, I think more skirts have to make it into my work wardrobe rotation.  Something else I noticed today is that this pleated skirt was much more resistant to blowing up in the wind than a circle skirt. 

Anyway I'm working on a bra using a kit from Erin's store The Emerald Studio and I'm blown away with it.  Plenty of fabric, amazing quality, I can't wait to see this bra made up.

The Weetwood Skirt + Tutorial

May 2, 2015

I needed a new skirt for the local race day, and because I'm me I decided I wanted to make a skirt.  I fell in love with the skirt on the Blake Dress by Mingo and Grace!  The only problem was that it's a kids dress pattern and there is no way it would have fitted me!  I also loved how it was made out of neoprene.  It just so happens that Scuba Knit is my favourite fabric at the moment.

Anyway I rummaged through the remanent bin at my local Spotlight (more details to come in another post!) and scored with 1m of peach and .4m of navy scuba knit for $2/m!

Weetwood Skirt
 
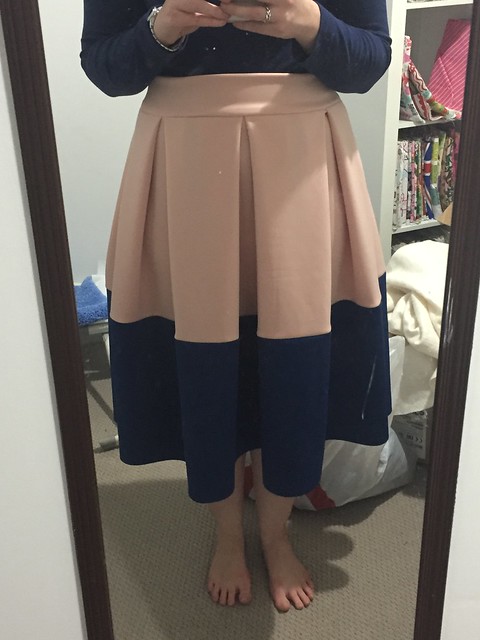
This was the result!  Please excuse the stuff in the background, I'm still only half unpacked! I used inverted box pleats to give the volume, which thankfully looks good when worn high enough on the waist!  I've included a little tutorial below, though I didn't take photos through the process, leave a comment below and I'll answer and questions :)
 
I used 1.4m of fabric to make this skirt however that has made it quite long and you could certainly get away with less, somewhere about 1.1/1.2 would be my recommendation.
 
To start with I cut a 6"xWOF strip of the peach fabric to use as my waist band.  I then cut this about 5cm shorter than my wait measurement because the scuba knit has a lovely stretch.  if you were not using a stretch fabric add enough onto your waist measurement to insert a zipper.
 
I then cut the navy and remaining peach fabric in half and stitched them along the WOF.  
 
Here is where it gets a little tricky!  I then lay my waist band on the floor folded in half, so it was half my waist measurement, and lay one set of the now striped fabric below it.  I found the centre of skirt bottom and created an inversed 6" box pleat (so that a 3" pleat was on either side of the centre).  I knew I wanted 3 pleats on the front and the back of the skirt so I measured the waist band and worked out I could fit 1 5" inverted box pleat on each side of the centre pleat so that was what I did.  I then tacked the pleats in place.  Make sure you have multiple pins in all your pleats so they don't move when you tack them :)
 
I repeated the same process for the back of the skirt.
 
In all honesty the easiest way to do this would be to divide your 1/2 waist measurement by 3 and take a little off each measurement to work out the size of your pleats :) But why would you do things the easy way!
 
Note that you might need to trim some fabric of the width so that it fits on the waist band.  If you're having the opposite issues (too much waist band) make your pleats smaller, those box pleats eat fabric!
 
I then stitched up the side of my skirt and added the waist band (folded in half so it measured 3").
 
Hem as normal.
 
Then slip on and enjoy your new Weetwood Skirt!
 
I'm trying to work out if I want to cut a bit of length off my skirt as it reminds me of my winter skirts from school!  I'll see how it goes. I think I'll make another one soon enough and when I do I'll make sure to take some photos to add here. 
 
If you make one I'd love to see some photos!  Either comment below or email me at emma@ahandstitchedlife.com.   You can also use the hashtag #ahandstitchedlife on social media :)
 
Emma :)


My Latest Sewing Fails

April 21, 2015

I've been having one of those weeks.  It started off about this time last week when I had gone out of my way to do something for someone (on my birthday no less) and they then treated me rather appallingly.   Sadly I didn't think of the perfect come back until about 12 hours later.  Isn't that always the way?

Anyway my sewing hasn't been working out this week either.

It could be the skirt that is well made but appears to show that my waist size isn't the same as it was a few months ago.

Sewing Fails
 
Or the other skirt where when I tried to correct some of the flaws in the previous skirt that this one ended up looking worse.

Sewing Fail

Or it could be the shirt that worked really well on the muslin but not as well in practice.

Sewing Fail
 
Or the pyjama pants I want to make but can only find one piece of my two piece pattern.

Sewing Fail
 
 
Anyway, its only fabric and most of it can be fixed one way or another.  Tomorrow is another day and time for another stitch.
 
Emma

Handmade Tuesday #6 - Sateen Pencil Skirt

March 3, 2015

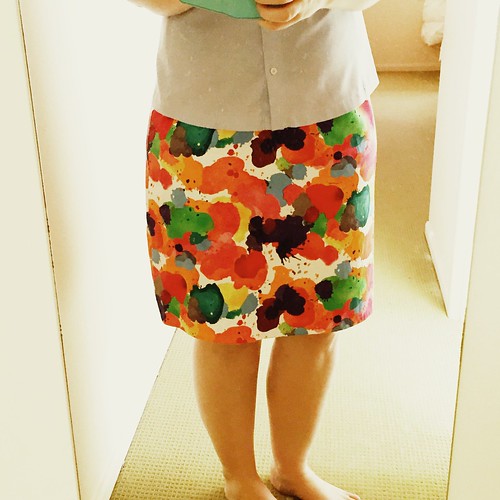
So, I made another skirt, a pencil skirt using the pattern from this skirt.  I fell in love with this Sateen (names Ink Spot) the other weekend at Spotlight.  But as it wasn't on sale I thought I could do without.  However when my catalogue arrived early the following week and it was on sale I knew I had to have it.


Untitled
 
 
I wore it to work today and my boss told me I should beware of bees.  I countered with at least I didn't have to worry about wearing high vis when I went outside  :)
 
Emma

Handmade Tuesday #5 - 1/2 Skirt 2.0

February 17, 2015

Wearing this old favourite again.  Same clothes, different view.  I also need to learn that I should check out weather forecasts for the day when I wear this.  I nearly flashed people today. twice. -_-

Same skirt, different view

Handmade Tuesday #3 - Knit Pencil Skirt

February 3, 2015

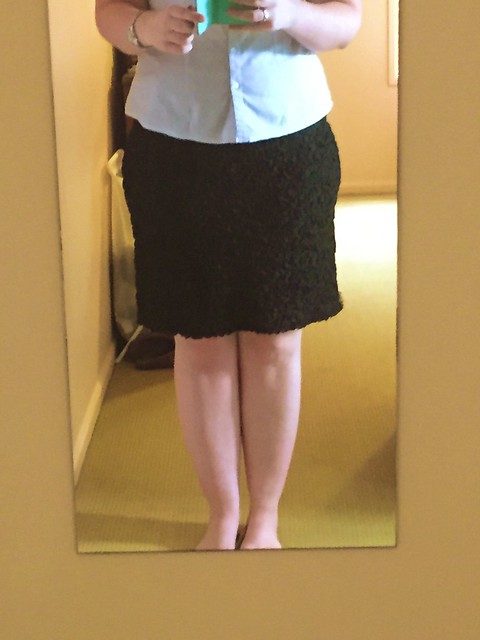
A very old make on today.  I made this super simple skirt about four or five years ago with a 'crinkle knit' from Spotlight. It's just a straight skirt, as in I cut what I needed for the waist and then straight down.  Being a knit it manages to give it a nice shape too. It's on an exposed elastic waistband and I've had multiple compliments when I've worn it which is always a lovely feeling!

Crinkle Knit Skirt
 
 
Sorry about the dodgy mirror selfie!
 
Emma :)

Handmade Tuesday #2 - Dotty Rayon 1/2 Circle Skirt

January 27, 2015

I missed Handmade Tuesday last week.  To be brutally honest I just forgot.  I've forgiven myself considering I spent last Monday in bed and struggled enough getting out of bed for work Tuesday morning let alone thinking of something nice to wear :)

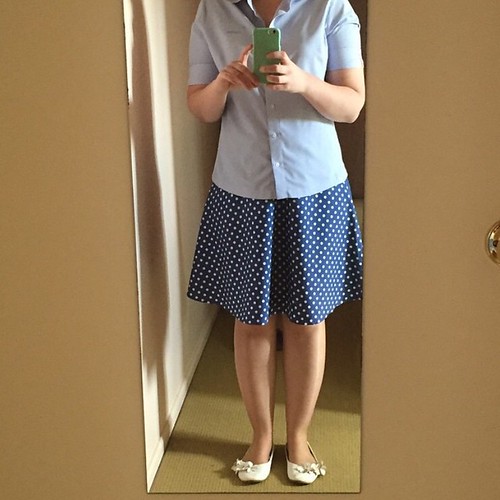
This week is my handmade outfit is one of my favourites, its a half circle skirt made in rayon. Rayon has to be one of my favourite fabrics ever!  Its so soft and drapey and flowy, I love it!

I like using this calculator App from By Hand London to work out my measurements, it makes life so much easier!

You'll also probably start to notice that my shirts remain the same, it's just a work uniform shirt and I haven't really branched into shirts yet!
Rayon Circle Skirt

Anyway, enjoy your Tuesday and I hope your Australia Day was well spent :)

Emma :)

Handmade Tuesday #1 - Simply Color Pencil Skirt

January 13, 2015

Towards the end of last year I started a personal challenge of wearing something handmade every Tuesday.  I'm not really sure why I settled on Tuesday but I think it started by coincidence as I wore handmade items for a few Tuesdays in a row and decided to try and make it habbit.

I started chronicling them on instagram using #handmadetuesday.  #Adventuresindressmaking and #handmadeclothing also feature on most of my garment making related posts. 

This week, for my first week back at work after a lovely three weeks of holidays I am wearing a skirt I whipped up towards the end of last week.

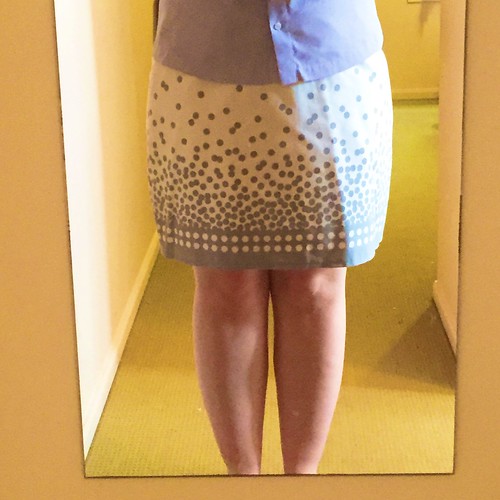
Dotty Pencil Skirt

The skirt is made from the Dot Print from Simply Color by V and Co for Moda.  I'm fairly certain it's long out of print but you might be able to track it down somewhere still.  It is lined with Pongee Lining from Spotlight.  Not the best but it was in my stash and using it was better than having to buy something else.

I drafted a pencil skirt pattern using this tutorial from Simple Simon and Company.  I found it really helpful with clear detailed instructions.  I would also recommend checking out their Pencil Skirt Sew Along for more helpful tips and tricks

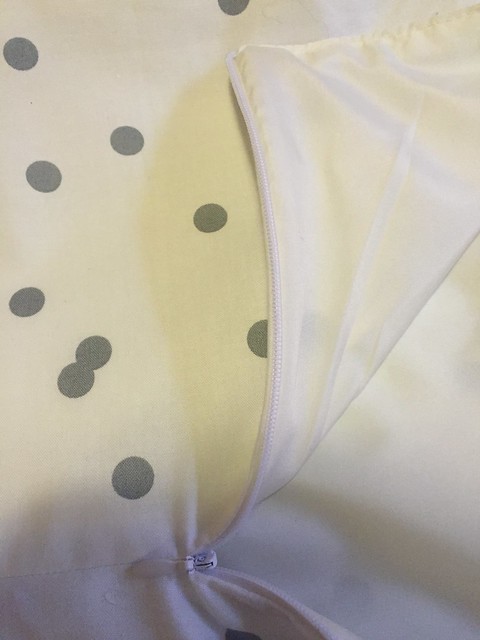
This tutorial also from Simple Simon and Company was also incredibly helpful for inserting an invisible zipper with lining.  It was my first time attempting this properly and I am incredibly pleased it worked.  I'm very proud of this.  This time last year I didn't sew clothes because the curves scared me! Not to mention Zippers!

Fully Lined Skirt Zipper

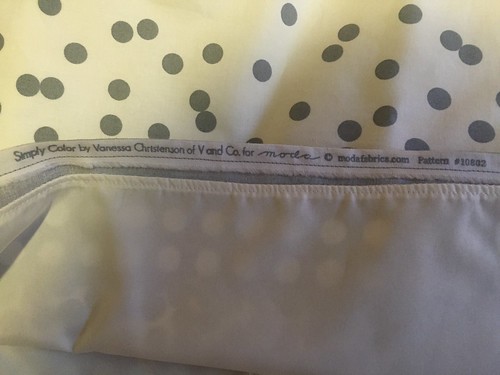
Overall I am very happy with how it turned out! Though my favourite bit might be the selvedge hidden in the hem! In an effort to use a little fabric as possible while getting a decent length I cut the bottom of the skirt right on the selvedge and just turned it over and stitched it down. Cute and thrifty!

Hidden Selvedge Hem

Emma :)

DESIGNED BY ECLAIR DESIGNS